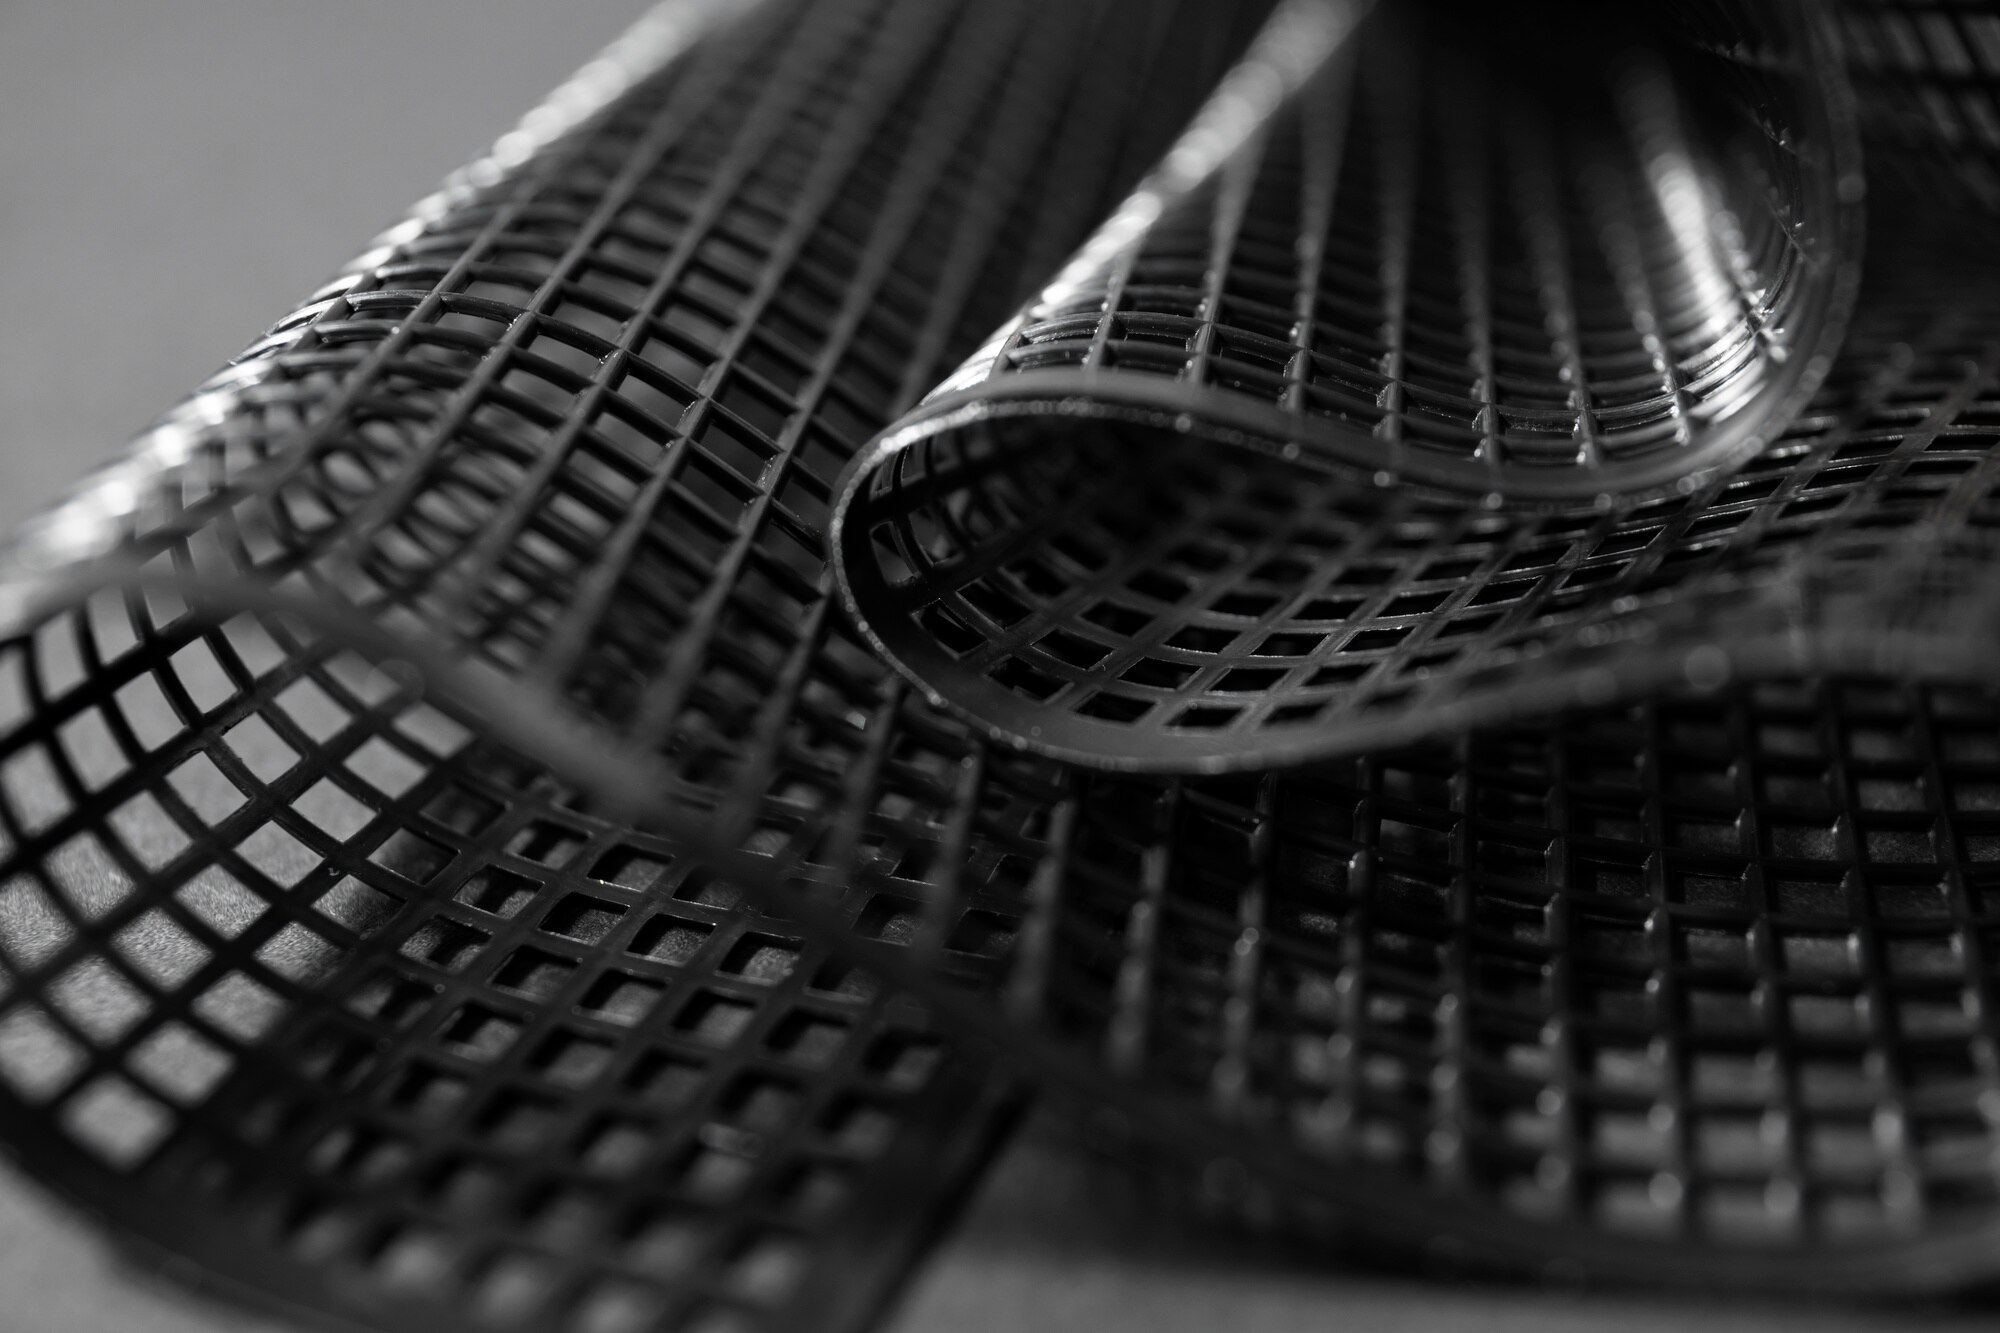
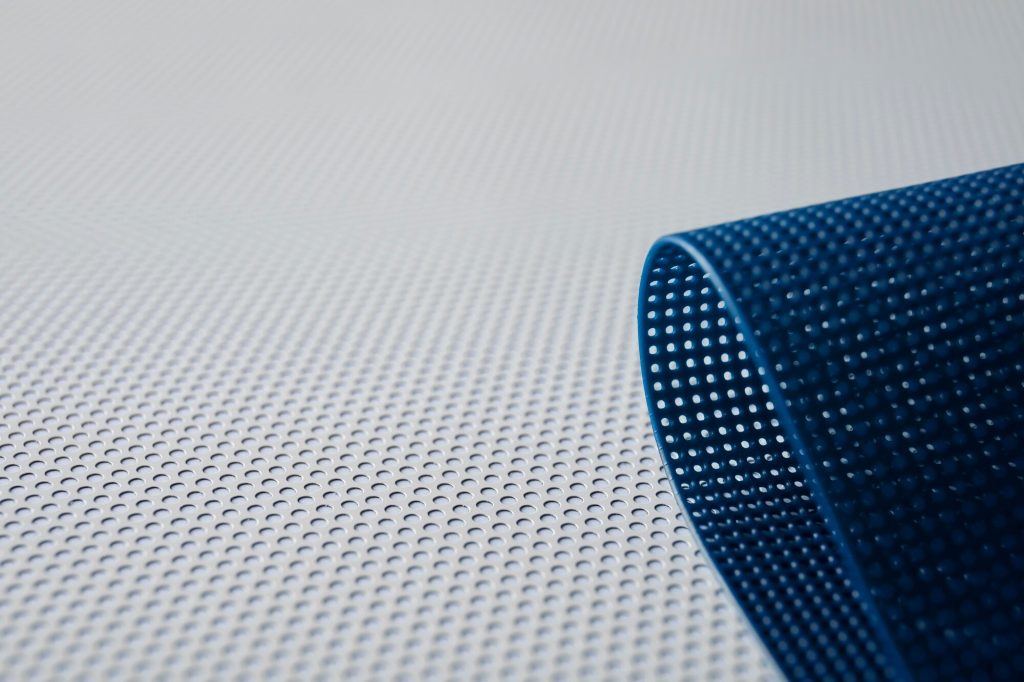
Outdoor rubber matting is a versatile and durable solution for various outdoor spaces, including patios, playgrounds, and walkways. This type of flooring offers numerous benefits, such as slip resistance, comfort, and ease of maintenance.
If you’re considering installing outdoor rubber matting, it’s essential to understand the proper techniques to ensure a successful and long-lasting installation. In this guide, we’ll cover everything you need to know about installing outdoor rubber matting, including the tools you’ll need, step-by-step instructions, and helpful tips.
Benefits of Outdoor Rubber Matting
Before diving into the installation process, let’s take a moment to understand why outdoor rubber matting is a popular choice for many homeowners and businesses.
Durability and Longevity
Outdoor rubber mats are designed to withstand harsh weather conditions, heavy foot traffic, and general wear and tear. It can endure sun exposure, rain, and fluctuating temperatures without significant deterioration, making it a cost-effective solution for outdoor flooring. The robust nature of rubber ensures that it won’t crack or become brittle over time, which is a common issue with other materials. Investing in rubber matting means fewer replacements and repairs, saving both time and money in the long run.
Moreover, the high-quality materials used in manufacturing rubber matting contribute to its impressive lifespan. The resilience of rubber makes it ideal for high-traffic areas, where other materials might fail. This longevity translates into environmental benefits as well, reducing waste and the need for frequent replacements.
Safety and Comfort
One of the primary benefits of rubber flooring is its slip-resistant surface, which reduces the risk of accidents, especially in wet conditions. The textured surface of rubber matting provides excellent grip, making it a safer choice for areas exposed to rain or moisture. Additionally, rubber matting provides a cushioned surface that absorbs impact, making it more comfortable to walk on compared to harder surfaces like concrete or stone. This cushioning effect is particularly beneficial for playgrounds, where children are prone to falls.
The comfort provided by rubber matting extends beyond mere impact absorption. Its thermal properties mean it doesn’t retain heat like concrete or asphalt, making it pleasant to walk on even during hot summer days. This feature is especially appreciated in areas where barefoot traffic is common, such as poolside decks or outdoor play areas.
Easy Maintenance
Rubber matting is easy to clean and maintain. Regular sweeping and occasional washing with mild soap and water are usually sufficient to keep the matting looking new. Its resistance to mold and mildew also makes it a hygienic choice for outdoor spaces. Unlike porous materials, rubber does not absorb liquids, which minimizes the growth of bacteria and fungi.
In addition to its hygienic properties, rubber matting is resistant to stains and discoloration. This makes it ideal for areas where spills are common, such as outdoor dining spaces or areas with frequent pet traffic. The ease of maintenance means less time and resources spent on cleaning, allowing you to enjoy your outdoor space without worry.
Tools and Materials Needed
Before starting your installation, gather the necessary tools and materials:
- Outdoor rubber matting
- Utility knife
- Measuring tape
- Chalk or marker
- Straightedge
- Adhesive (if required)
- Roller or tamper
- Broom
Having the right tools on hand is crucial for a smooth installation process. A utility knife with a sharp blade ensures clean cuts, while a measuring tape guarantees precise sizing. Chalk or markers help outline the installation area, providing a guide for accurate placement. A straightedge ensures straight cuts and edges, enhancing the overall appearance of the finished product.
Depending on the specific requirements of your installation, you might need additional items like adhesive for securing the matting. A roller or tamper helps ensure the matting lays flat and adheres evenly, preventing lifting or curling. Lastly, a broom is essential for preparing the surface, ensuring it is clean and free from debris before installation begins.
Preparing the Surface
A successful installation begins with proper surface preparation. Follow these steps to prepare your outdoor area for rubber matting installation:
Clean the Area
Remove any debris, dirt, or vegetation from the installation area. Use a broom or leaf blower to ensure the surface is clean and free of loose materials. This step is crucial as any remaining debris can cause uneven surfaces, leading to bumps or lumps under the matting. A clean surface also ensures better adhesion if you are using adhesive to secure the matting.
In addition to removing debris, it’s important to ensure that the surface is dry before installation. Moisture can interfere with adhesive application and may cause the matting to shift or not adhere properly. If the area has recently been exposed to rain, allow sufficient time for it to dry completely.
Level the Ground
Ensure the ground is level and smooth. If there are any uneven spots, fill them with a suitable filler material and compact it to create a stable base. For larger areas, you may need to use a tamper or roller to achieve a uniformly flat surface. This step prevents the formation of puddles and ensures that the matting does not develop depressions over time.
A stable, level surface is essential for the longevity of your rubber matting installation. Uneven ground can lead to premature wear and tear, as well as potential safety hazards. Taking the time to properly prepare the ground will pay off in the long run, providing a solid foundation for your matting.
Measure and Mark
Measure the dimensions of the area where you plan to install the rubber matting. Use chalk or a marker to outline the installation area, ensuring that you have precise measurements to avoid any gaps or overlaps. Accurate measurements are critical for ensuring that the matting fits perfectly without leaving exposed edges or requiring excessive trimming.
Careful planning and measurement also help in minimizing waste. By knowing the exact dimensions, you can cut the matting efficiently and avoid unnecessary offcuts. This not only saves materials but also reduces the time spent on adjustments during the installation process.
Installing the Rubber Matting
With the surface properly prepared, you can now proceed with the installation of the rubber matting. Follow these step-by-step instructions:
Step 1: Unroll and Cut the Matting
Unroll the rubber matting and allow it to lay flat for a few hours. This will help reduce any curling and make it easier to work with. Use a utility knife and straightedge to cut the matting to the desired size and shape. Make sure to leave a small gap around the edges to allow for expansion and contraction due to temperature changes.
Allowing the matting to acclimate to the outdoor temperature and settle before cutting helps in achieving more accurate cuts. This step also minimizes the risk of inaccuracies caused by curling edges. Having the matting lie flat beforehand ensures that you can measure and cut precisely, resulting in a cleaner installation.
Step 2: Apply Adhesive (If Required)
Depending on the type of rubber matting and the installation surface, you may need to use adhesive to secure the matting in place. Follow the manufacturer’s instructions for applying the adhesive. Typically, you’ll apply the adhesive to the back of the matting or directly onto the surface in a thin, even layer.
When using adhesive, it’s crucial to work in manageable sections to prevent it from drying out before the matting is in place. Ensure you have proper ventilation and use safety equipment as needed. Adhesives can vary significantly, so it’s important to choose one that is compatible with both the rubber matting and the surface it will be applied to.
Step 3: Position and Press the Matting
Carefully position the rubber matting in the outlined area. Press it firmly into place, starting from one end and working your way to the other. Use a roller or tamper to ensure the matting adheres evenly and securely to the surface. Pay special attention to the edges and seams to prevent any lifting or curling.
Working systematically from one end to the other helps in avoiding air bubbles and ensures even adhesion. A roller or tamper will help in pressing out any trapped air and securing the matting firmly to the ground. Be meticulous with the edges and seams; proper attention here prevents potential tripping hazards and keeps the matting looking neat and professional.
Step 4: Trim Excess Material
Once the matting is in place, use a utility knife to trim any excess material along the edges. Make sure the cuts are clean and precise to achieve a professional-looking finish. A straightedge can assist in making straight cuts, resulting in a seamless appearance.
Trimming excess material not only enhances the aesthetic appeal but also prevents potential damage or wear from loose edges. Clean, precise cuts ensure that the matting fits perfectly within the designated area, providing a polished and finished look.
Finishing Touches and Maintenance
After installing the rubber matting, there are a few final steps to ensure its longevity and appearance:
Inspect the Installation
Carefully inspect the entire installation area for any gaps, bubbles, or loose edges. Address any issues immediately to prevent further problems down the line. A thorough inspection allows you to identify potential weak spots that could lead to future damage or safety concerns.
If you notice any areas that need attention, take the time to fix them promptly. This might involve reapplying adhesive, pressing down loose edges, or smoothing out bubbles. Early intervention can save time and effort in the long term, preserving the quality and safety of your installation.
Clean the Surface
Give the newly installed matting a thorough cleaning to remove any dust or debris from the installation process. This will help maintain its appearance and prevent any potential slipping hazards. A clean surface not only looks better but also performs better by providing consistent grip and traction.
Regular cleaning helps in extending the life of your rubber matting, as accumulated dirt and debris can cause abrasion and wear. Developing a routine cleaning schedule will ensure that your matting remains in top condition and continues to provide a safe and attractive surface.
Regular Maintenance
To keep your outdoor rubber matting looking its best, perform regular maintenance. Sweep the surface regularly to remove dirt and debris. Occasionally wash the matting with mild soap and water to keep it clean and free of stains. Avoid using harsh chemicals or abrasive cleaning tools, as these can damage the rubber.
In addition to routine cleaning, it’s important to inspect the matting periodically for any signs of wear or damage. Promptly addressing small issues, such as minor tears or lifted edges, can prevent larger problems from developing. By staying proactive with maintenance, you can ensure that your rubber matting remains a functional and attractive part of your outdoor space.
Tips for a Successful Installation
Here are some additional tips to ensure a smooth and successful installation of your outdoor rubber matting:
- Plan Ahead: Take the time to plan your installation carefully, including measuring the area and gathering all necessary tools and materials. A well-thought-out plan minimizes the chances of errors and ensures that the process goes smoothly.
- Work in Sections: For larger areas, consider working in smaller sections to make the installation more manageable and ensure even adhesion. This approach allows you to focus on detail and maintain quality throughout the entire installation.
- Allow for Expansion: Rubber matting can expand and contract with temperature changes. Leave a small gap around the edges to accommodate this movement and prevent buckling. This simple step can prevent issues related to temperature fluctuations and maintain the integrity of the installation.
- Follow Manufacturer’s Instructions: Always follow the manufacturer’s instructions for installation and maintenance to ensure the best results and avoid voiding any warranties. Manufacturer guidelines are tailored to the specific product and provide valuable insights into achieving optimal performance.
By following these tips and techniques, you can achieve a professional-looking installation that will provide years of durable and comfortable outdoor flooring. These additional considerations help in achieving not only a successful installation but also long-term satisfaction with your rubber matting.
Conclusion
Outdoor rubber matting is an excellent choice for various outdoor spaces, offering durability, safety, and easy maintenance. With the right tools, materials, and techniques, you can successfully install rubber matting and enjoy its many benefits for years to come. Whether you’re enhancing a patio, playground, or walkway, rubber flooring is a practical and attractive solution that will stand the test of time.
By investing in quality materials and taking the time to install them properly, you ensure that your outdoor spaces are both functional and appealing. Rubber matting offers a blend of utility and aesthetics, making it a wise choice for any outdoor application. Embrace the benefits of rubber flooring and transform your outdoor areas into safe, comfortable, and inviting spaces.